Struggling with poor cell signal in your home office, apartment, or rural property? A signal booster for home can be a game-changer - especially if you're tired of dropped calls, slow data, and unreliable connections.
In this guide, we'll walk you through how to install a Single Room Kit to improve indoor cellular coverage. Whether you're working remotely or simply need better reception inside, this easy-to-follow setup will help you get connected in no time.
Step 1: Unbox and Organize Your Kit
First, let's take a look at what's inside the Single Room Kit. The kit typically includes:
-
Signal Booster: WilsonPro A500
-
Indoor Antenna: Omni-Desktop Antenna
-
Outdoor Antenna: choose between a yagi or omni-directional outdoor antenna
-
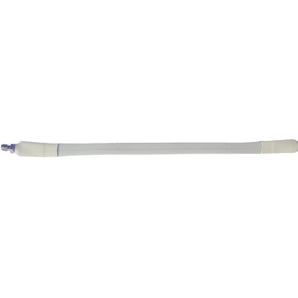
Cables: 8m LMR240 cable (crimped)
-
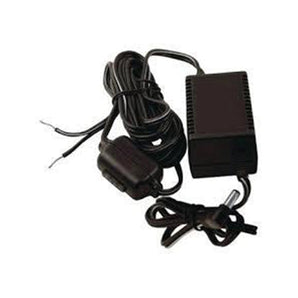
Power Supply for the booster
If you’ve purchased your kit from Bolton Technical, you can find more product details on our website, Bolton Technical Single Room Kits, where we offer a variety of signal solutions for both home and office environments.
Step 2: Find the Best Location for the Antenna
Your indoor antenna should be placed where you need signal the most - usually a central location in a room like a desk or shelf in your home office or lounge area.
Tips:
-
Avoid placing the antenna near metal surfaces or large electronics
-
Keep it in a high-traffic area for maximum benefit (e.g., living room, study)
Choosing the right donor antenna depends on your location and the strength of your outside signal. Here's a breakdown:
Yagi Antenna – Best for Weak, Distant Signal
Use this when:
-
You're in a rural or remote area with very weak signal (e.g., -110 dBm or worse)
-
You know the direction of your nearest cell tower
-
You want the strongest gain possible
Why choose it: A Yagi antenna is directional—it focuses on one tower and pulls in the best possible signal. You’ll need to aim it precisely.
Omni-Directional Antenna – Best for Urban/Suburban Areas
Use this when:
-
You're in an area with decent outdoor signal (-85 dBm or better)
-
You don’t know the exact tower direction
-
You want easy plug-and-play setup
Why choose it: Omni antennas capture signal from all directions (360°). They’re ideal if you're surrounded by towers or unsure where the signal is coming from.
Or Try the WilsonPro A500 Apartment Kit with a Beacon Antenna – No Outdoor Access Required
Use this when:
-
You live in an apartment or rental property
-
You can't install anything outside
Why choose it: The Beacon mounts indoors against a window, making it ideal for setups where exterior antenna installation isn’t possible.

Step 3: Mount the Antennas (Indoor & Outdoor)
-
Outdoor Antenna: Install high on a wall, pole, or roofline for the best line of sight to towers keep in mind you only have 8m of LMR240 Cable to work with.
-
Indoor Antenna: Place on a desk, shelf, or wall near the area where you need the boost.
Use included screws and mounts for secure installation.
Step 4: Position the Booster
Next, place the signal booster in a location near a power outlet but away from sources of interference. The booster should be close enough to the antenna and easy to connect to the power source. You may want to place it in a discreet location to keep it out of the way.
Tip:
Position your signal booster in a dry, ventilated space near a power outlet. It should be close enough to connect easily to both antennas.
Step 5: Connect the Cables
Now it’s time to connect the cables. You’ll need to attach the cable from the booster to the indoor and outdoor antenna. The instructions provided with your kit should give you specific guidance on which ports to use, but typically, the donor antenna connects to the outside signal source, and the indoor antenna connects to the booster.
-
Connect one end of the LMR240 cable to the outdoor (donor) antenna and the other to the booster input.
-
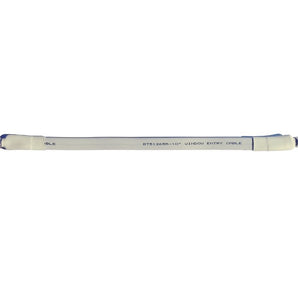
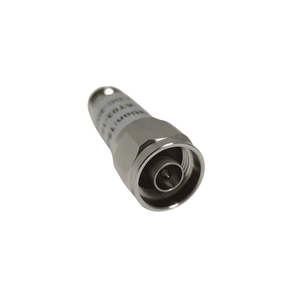
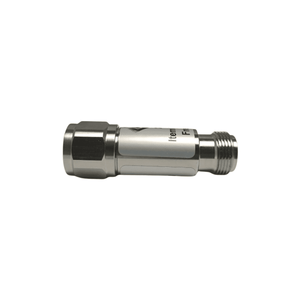
Connect the SMA-Female to N-Male Connector to the booster output and then connect the Omni-Desktop indoor antenna.
Make sure the connections are secure but not overly tight to avoid damaging the ports.
Step 6: Power Up the System
Once everything is connected, plug the booster into a power outlet. Most systems have indicator lights that will show whether the system is working correctly.
-
Green: System working perfectly
-
Red/Orange: Follow the troubleshooting guide in your user manual
Tip:
Don’t forget to test your signal strength before and after installation! This will help you gauge how much the signal has improved.
Step 7: Test and Fine-Tune
Test your phone or devices by making calls and checking data speeds. If the signal still isn’t strong enough in certain areas, try adjusting the position of the antennas or booster slightly. Small changes in placement can make a big difference!
Tip:
You can use Field Test Mode on your phone to get more accurate signal strength readings (in dBm). The closer to 0, the better the signal.
Installing a Single Room Kit is a straightforward process that can make a huge difference in your cellular signal quality. Whether you're working in a small office, a home, or a remote building, having a reliable signal is essential for staying connected.
Bolton Technical offers a range of signal solutions, from boosters to complete kits designed to meet the needs of your space. If you’re ready to boost your signal, visit our website for more information and to purchase your kit today.


